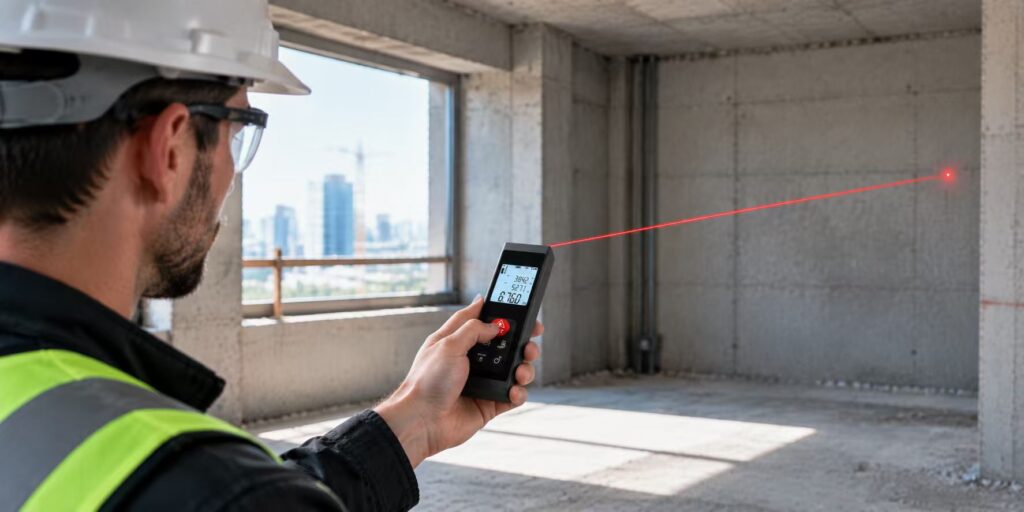
⚠️ Why Is My Laser Measure Inaccurate? 7 Causes and How to Fix Each One
🎯 Short answer
Your laser measure is probably not broken. Nine out of ten “inaccurate readings” come from the setup — the wrong reference point, a weak target surface, direct sunlight, or a beam that wasn’t held square to the wall.
A genuine calibration problem looks very specific: the error is the same at every distance. Short by 3 mm at 1 m and also short by 3 mm at 8 m means a zero offset, and you can correct it. If the error grows with distance, that’s a different problem — skip to cause 7.
1️⃣ 📏 You’re measuring from the wrong reference point
🔍 What it looks like: every reading is off by roughly the same amount, usually 100–130 mm — about the length of the housing.
Why: a laser distance meter has more than one valid zero point. Most default to the rear of the housing, but you can switch to the front tip, and folding out the end piece for inside corners moves the datum again. Pick the wrong one and every measurement inherits that constant error.
✅ Fix:
- 👀 Check the reference indicator on the display
- 📍 Decide which edge is physically touching your start surface, and set the reference to match
- 🔁 Re-measure a known 1 m distance to confirm the offset is gone
2️⃣ 🪞 The target surface is too weak or too reflective
🔍 What it looks like: the reading fails, takes a long time, or lands several millimetres off — especially on glass, glossy tiles, polished stone, or dark matte surfaces.
Why: the device measures the light coming back to its receiver. Glass lets most of the beam pass through, mirrors send it off at an angle, dark surfaces absorb it. With little light returning, the internal timing becomes unreliable.
✅ Fix:
- 🪟 For glass, hold an opaque card behind it or measure to the frame instead
- ⚠️ Avoid steep angles: even a matte wall turns reflective beyond about 70°
3️⃣ ☀️ Direct sunlight or strong ambient light
🔍 What it looks like: fine indoors, unreliable outdoors at midday.
Why: indoor lighting is around 300–500 lux. Direct summer sunlight can exceed 100,000 lux. At that level the returning laser spot competes with a flood of infrared and visible noise, and the receiver can’t pick it out.
✅ Fix:
- ✋ Shade the target point with your hand, a clipboard, or a piece of stiff card — this alone solves most outdoor failures
- 🔙 Measure with the sun behind you
- 🟢 For regular outdoor work, choose a green-laser model: green is several times more visible to both the receiver and your eye
- 📈 Taping a piece of white card to the target point also extends effective range — matte white returns far more light than a bare wall
4️⃣ 📐 The beam isn’t square to the target
🔍 What it looks like: the reading looks plausible but always runs slightly long, and the error grows on longer shots.
Why: cosine error — the most underestimated source of inaccuracy. Any device measures along the beam path, not along the line you intended.
📊 The numbers worth memorising: Off by 1° → 0.8 mm off at 5 m · 1.5 mm at 10 m Off by 2° → 3 mm at 5 m · 6 mm at 10 m Off by 5° → 19 mm at 5 m · 38 mm at 10 m
At 2° — barely visible to the eye — you’re already losing 6 mm at 10 m, dwarfing the ±2 mm rating on the box.
✅ Fix:
- 📐 Keep the beam as close to perpendicular as you can — the further the distance, the more this matters
- 🫧 Use the built-in level or spirit bubble if your model has one
- 🧱 For long shots, rest the unit on a solid surface or mount it on a tripod rather than holding it freehand
- 📏 If you have to measure at an angle, use the Pythagorean function to derive the true horizontal or vertical distance instead of reading the slope directly
5️⃣ 📊 You’re reading the accuracy spec wrong
🔍 What it looks like: you expect ±2 mm everywhere, get 3 mm at 20 m, and assume the tool is faulty.
Why: an accuracy figure is a conditional claim. Most specs follow a pattern like ±(2 mm + D × 5/100 000), where D is the measured distance, and they apply only within a stated temperature range — commonly 0 °C to 40 °C — on a good target. Read it as “±2 mm under the test conditions,” not “±2 mm always, everywhere.”
Two related mistakes:
- ❌ Measuring in feet and inches while reading the display in metres
- ❌ Comparing a laser reading against a stretched or sagging steel tape on a long span — not a fair comparison
✅ Fix: check the datasheet for your model, note both the fixed and the distance-dependent part of the spec, and compare your error against that number — not against a flat ±2 mm.
6️⃣ 🔋 Low battery, cold weather, or a shaking hand
🔍 What it looks like: readings degrade gradually over a session, or the first measurement after power-on differs noticeably from later ones.
Why: three separate effects. As the battery drops, laser output falls and the receiver’s signal-to-noise ratio worsens. Cold slows the electronics and cuts battery capacity at the same time. And at long distances, a hand that moves even a few millimetres between pressing the button and capturing the reading shifts the result.
✅ Fix:
- 🔋 Replace batteries once the indicator drops below about one bar. Rechargeable cells decline well before they read empty
- 🌡️ Let a cold unit acclimatise for 10–15 minutes
- ⏱️ Use self-timer or continuous-measurement mode to remove hand shake
- 🧱 Put it on a tripod for anything above roughly 15 m
7️⃣ 🔧 Zero offset drift — the unit actually needs calibration
🔍 What it looks like: a constant offset at every distance, with everything else checked and correct. You measure a certified 5 m reference and consistently get 5.003 m.
Why: like any measuring instrument, the internal timing reference can drift over time, after a drop, or after long storage. The good news is that a zero offset is linear and predictable, so it’s straightforward to correct in the field — provided your model supports it.
Diagnose first:
- ✅ Same offset at 1 m and at 8 m → zero offset → you can fix it yourself
- ❌ Offset that grows — 1 mm at 2 m, 5 mm at 10 m → scale drift → needs service or replacement
- 🔄 Random scatter with no pattern → still causes 1–6
🛠️ How to calibrate against a tape measure
If your model supports it — several Kinlopto laser distance meters do — you can correct a zero offset in about five minutes.
✍️ Manual offset adjustment: use a sound steel tape — a Class II tape is accurate to about ±1.5 mm over 3 m, good enough here. Pull it taut along a flat floor or wall and mark a clean 5 m reference. Fix the laser measure at the zero mark, aimed squarely, ideally resting on a flat surface rather than held. Take five readings, discard any outlier by more than 3 mm, and average the rest. The difference between that average and your tape reference is your zero offset. Enter it in the manual offset setting, observing the sign convention in your manual — plus and minus differ between models. Re-measure at about 1 m and at your longest practical distance; the offset should be gone at both.
⚠️ One limit worth noting: adjusting the offset changes the zero point only. It will not repair scale drift, a damaged receiver, or a misaligned optical path. If your error is proportional rather than constant, recalibration just moves the problem to a different distance — the unit should be serviced or replaced.
📋 Tolerances worth caring about
Not every millimetre matters.
| 🏗️ Scenario | 🎯 Tolerance that’s fine |
|---|---|
| Rough room size for materials | ±10 mm, comfortable |
| Flooring or tiling take-off | ±3 mm, achievable with care |
| Cabinet and furniture fitting | ±1–2 mm — still confirm final dimensions with a tape |
| Stair stringers, structural steelwork | ±1 mm, professional-grade tool |
💬 FAQ
❓ How accurate should a laser distance meter be? Consumer and trade models are typically rated ±1.5 mm to ±2 mm under specified conditions, with an additional distance-dependent allowance. Read the full specification, not just the headline number.
❓ Can I calibrate a laser distance meter myself? ✅ Yes, if it has a zero-offset adjustment. Manual offset adjustment against a verified tape-measure reference takes about five minutes. Scale errors cannot be fixed in the field.
❓ Will it read through glass? ❌ Not reliably. The beam largely passes through the glass and often reflects off whatever is behind it. Place an opaque target card on the far side, or measure to the frame.
❓ Why is my laser measure off by exactly 100 mm? 👉 Almost always the reference setting. You’re probably set to the rear of the housing while physically measuring from the front edge, or vice versa. Check the reference indicator on screen.
❓ Does a green laser measure more accurately than a red one? 🟢 The rated accuracy is usually similar, but green beams are much easier to see on bright surfaces and outdoors, which leads to better aiming and fewer failed readings in practice.
❓ How often should I check calibration? 🗓️ Every three to six months for regular professional use, and immediately after any drop, after repairs, or whenever you notice a constant offset.
🔗 Related reading
- 📖 How to choose a laser distance meter —
/laser-distance-meter-buying-guide/ - ⚖️ Laser measure vs tape measure: which is more accurate? —
/laser-measure-vs-tape-measure-which-is-more-accurate/ - 🛒 All Kinlopto products —
/products-2/
📩 Still stuck?
Tell us the distance, the surface, and how far off the reading is — we’ll tell you which of the seven it is.
Kinlopto · laser distance meters built for people who measure for a living.